Buildless CLI
Command-line access and management of build caches
The Buildless CLI offers command-line access to your build cache, and control over various features. See below for use guides and references.
The CLI is awesome and free forever.
We highly recommend it, if only because the near-cache functionality accelerates builds significantly, and allows graceful recovery through connectivity blips and other transient issues.
Our CLI and agent service are free, forever, for unlimited users. You only need to pay for Buildless if you consume cloud resources.
About the CLI
Things it can do
- Integrate your build caching with Git
- Near-caching, with or without cloud backhaul
- Install, start/stop, and manage your local build agent service (optional)
- Show your effective configuration, or your logged-in account
- Join the Discord, access support/help
Where it can be used
- On developer machines, to accelerate day-to-day builds
- On CI systems, to accelerate and measure automated builds
*nix only at this time
The CLI is new and currently only available for macOS and Linux. We are working hard to finish our Windows version. If you need Windows support, please file an issue and we can add you to our beta program.
Getting Started
To use the CLI, you must install it on your machine, and, optionally, log in using your Buildless account.
Installation
There are several ways to install the CLI:
- Via GitHub releases
Authorization
This part is easy. Authorizing the CLI is optional, but you must perform this step to share caches via the Buildless cloud service:
buildless login
The flow continues in your browser. After confirming authorization in your browser, the CLI completes the flow on its own. For environments without a browser see buildless login --help.
Configuration
The CLI is designed to resolve configuration from known places on-disk, and from environment variables. Your "effective" Buildless configuration may depend on a number of factors, including your current working directory, and any active "project" within your working directory.
Override precedence
Buildless supports loading multiple configurations. All configurations exist within a given "scope" from the list below, expressed in reverse priority order (with earlier entries winning):
- Environment variable overrides
- Project-level configurations
- User-level configurations
- Machine-global configurations
- Built-in defaults, hard-coded configurations
Config location & format
Buildless supports several formats for configuration: YAML, JSON, TOML, and Properties. See below for a table of example settings in each format.
| Format | Extensions | Example key | Formatted key |
|---|---|---|---|
| YAML | yml, yaml | ||
| JSON | json | ||
| TOML | toml | ||
| Properties | properties |
The following configuration paths are supported by default:
Environment variables
BUILDLESS_APIKEY: Overrides authorization with the current user's API key
Project configuration
package.json: Block with keybuildless- (Coming soon)
User-level configuration
~/.config/buildless.yml- (Coming soon)
Machine-global configuration
/etc/buildless/buildless.yml- (Coming soon)
Usage
Once you have the CLI installed, you can do:
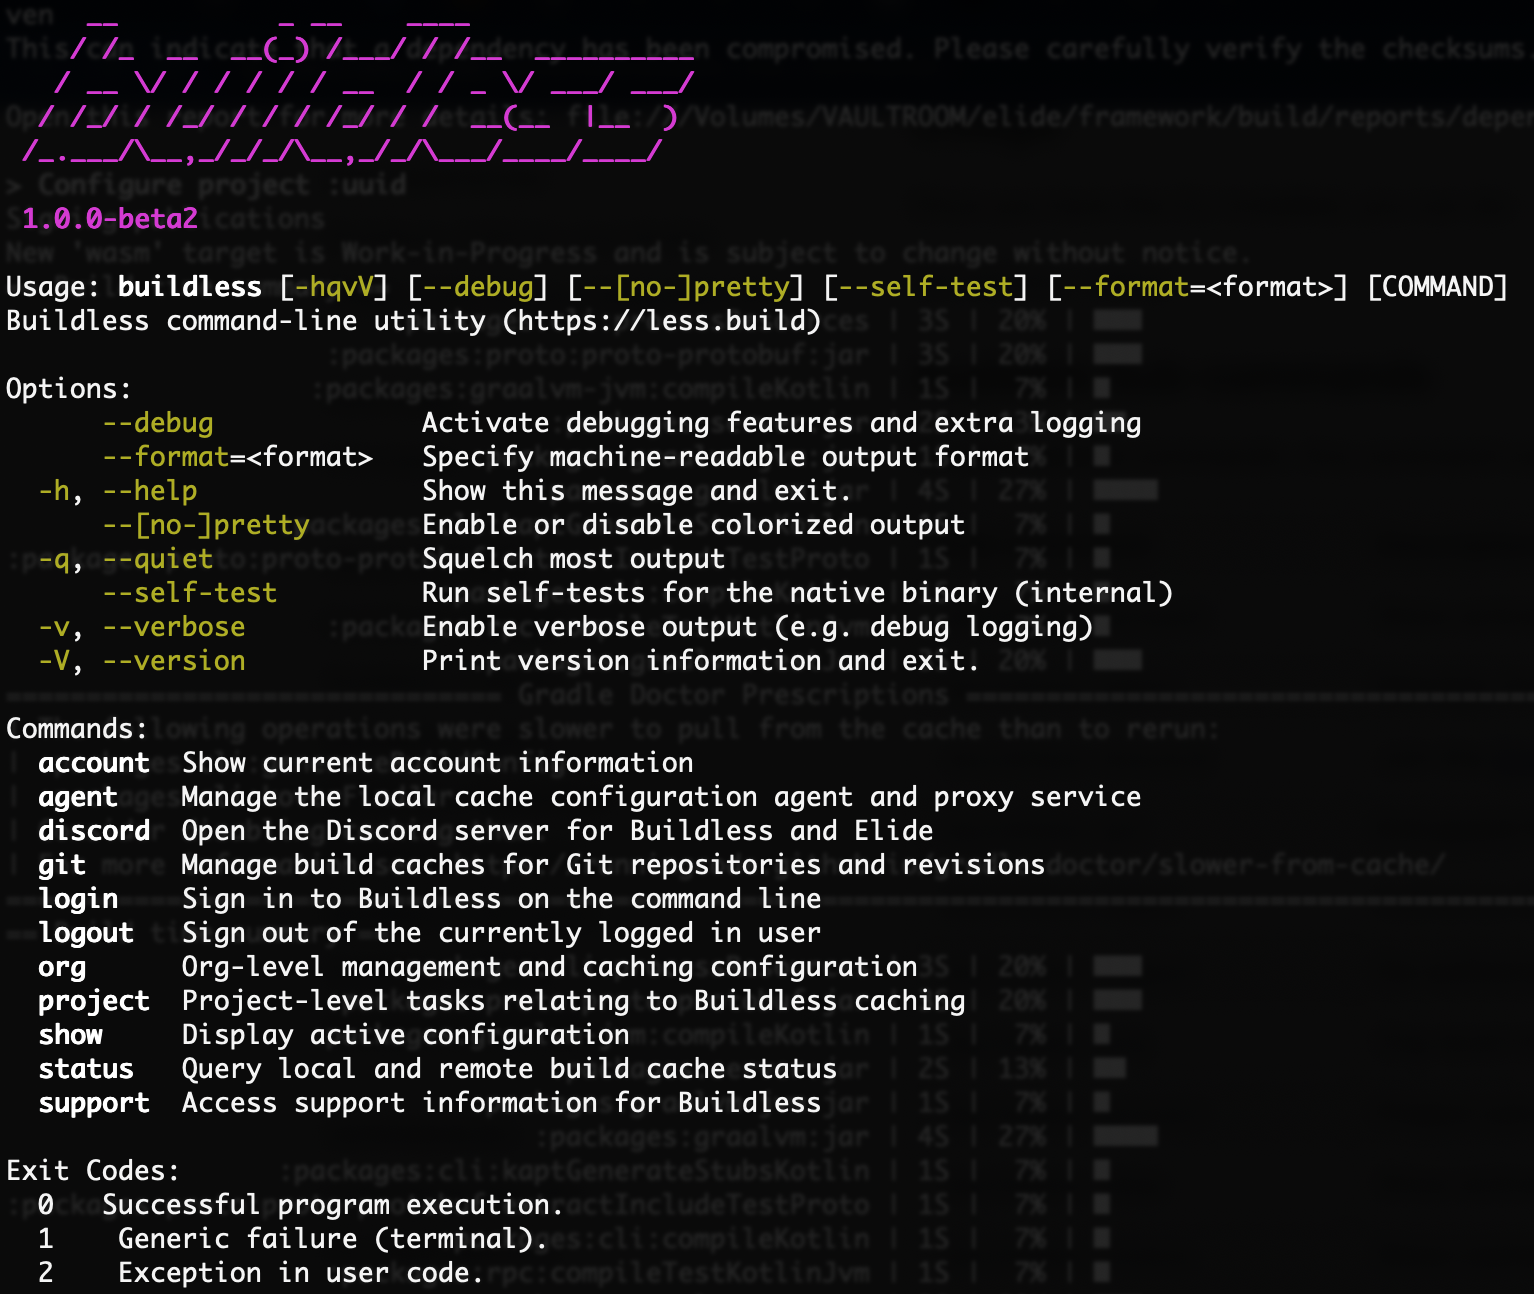
buildless --help

Output of buildless --help
Available Sub-commands
To see available commands. Any command can be run with --help for further info. Commands include:
| Sub-command | Description |
|---|---|
buildless account | Show active account info, if any |
buildless agent | Manage, install, uninstall local agent service |
buildless discord | Join the Discord |
buildless login | Authorize the CLI with your Buildless account |
buildless logout | De-authorize the CLI, remove any active account |
buildless show | Show active configuration, account, and status |
buildless status | Show cache status for the current directory (curtailed show) |
buildless support | Access support resources for Buildless |
Updated about 2 years ago
